Organizations
Organizations house all of your projects, data and team members in a single place. Within an organization, you can create projects and begin uploading data
Navigate an Organization using these quick links:
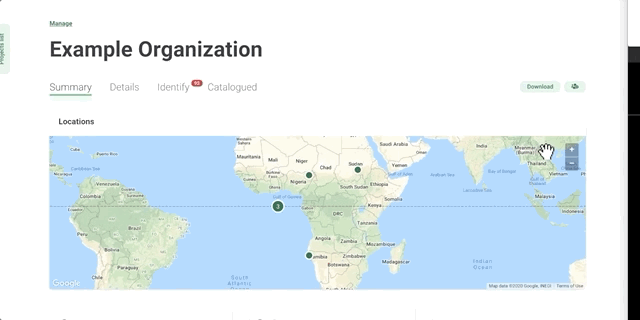
Summary tab: Displays a map of all camera deployments, an overview of data within that organization, and a list of projects.
Details tab: You can edit organization details, including the organization name and contact information. You can also add and edit Camera details (required).
Download button: You can easily download all of the data from the entire organization by clicking on this button and selecting Request data.
User Permissions button: You can invite users to join your organization.

Create an Organization
The first time you enter your account, you’ll see an organization already created for you. By default, you’re assigned as the Organization Owner. To edit an existing organization, skip to the Edit an Organization section below.
To create a new organization, you can:
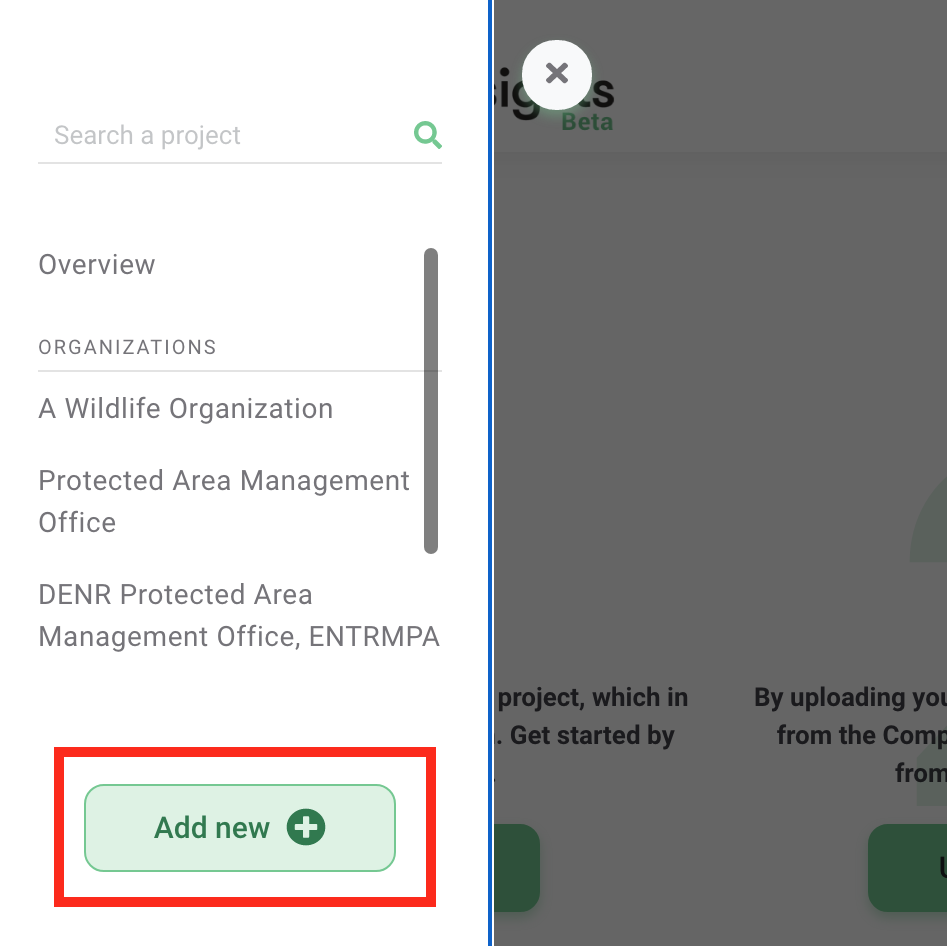
- Open the Projects List tab on the left side of the screen and select the Add new button at the bottom of the tab. Select New organization. See the image on the left for an example.
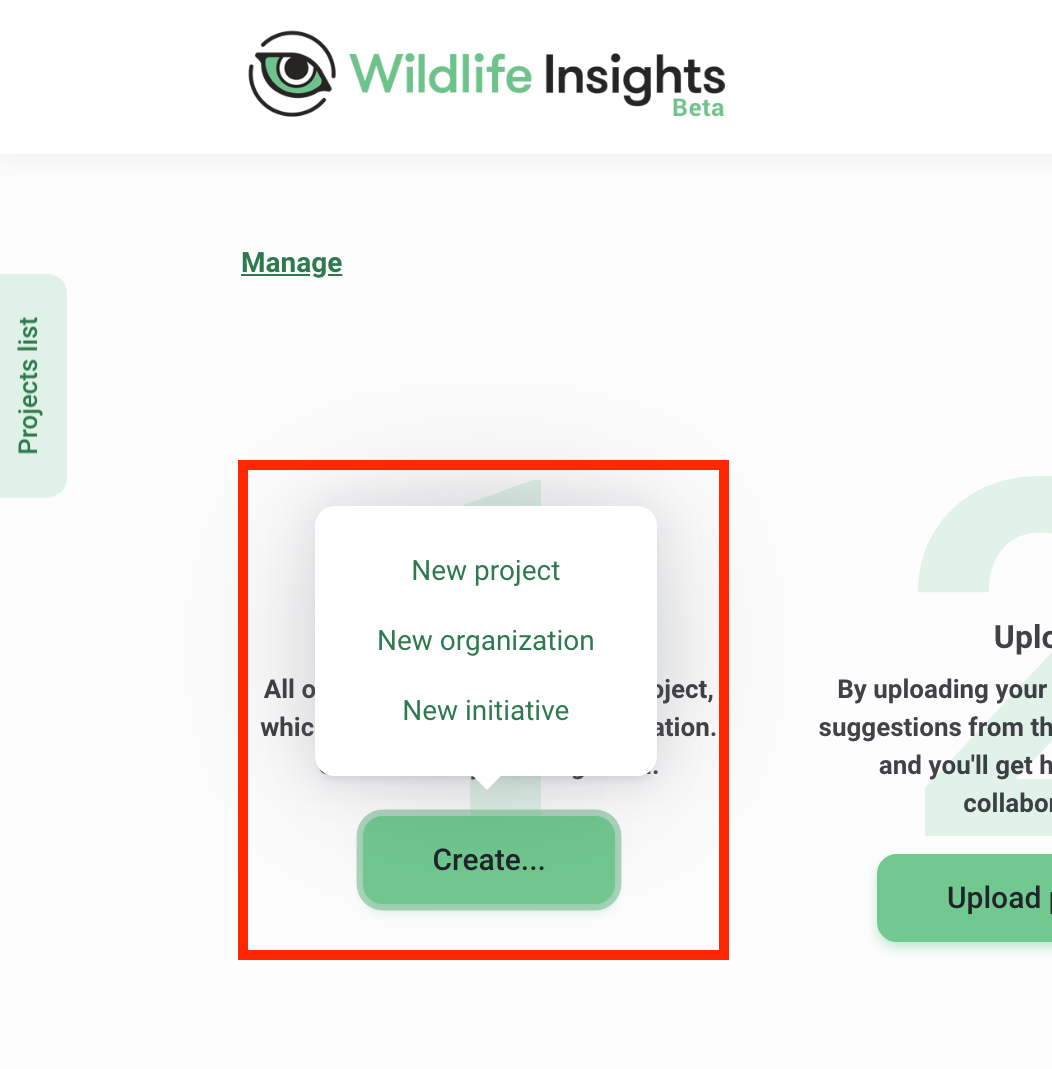
- You can navigate to the homepage from anywhere in the platform by clicking on the Manage link at the top of the page. Once on the homepage, you can click the green Create button underneath the large green #1 and select New organization. See the image on the right for an example.
Either method will bring you to a blank New Organization page. Fill out the form, making sure to fill out all required fields marked with an asterisk. Click Save to create the new organization.
Edit an organization
You can add organization details and change the organization name by navigating to the Organization Details page. Open the Projects List tab on the left side of the screen or scroll down the main page to the area below Project Name and click the organization name. Once on the Organization page, you can navigate to the Details tab to edit your organization information.
Join an existing Organization
To join an existing organization, you must have an approved Wildlife Insights user account and be invited to the organization by an Organization Owner or Editor. Please contact them directly.
Invite a team member to an Organization
To add a new team member to your organization, go to your Organization page and click the green people icon on the right side of the screen. In the User’s permissions box that appears, enter your team member’s email, select a role, and click Invite. If your team member has an approved Wildlife Insights user account, you’ll see their name in the permissions list.
You can assign four roles to team members: Owner, Editor, Contributor or Viewer. There’s no limit on how many owners, editors or viewers are assigned to any organization. Any user with any role at the organization level will automatically have Viewer access to any projects or initiatives associated with that organization.
Remove a team member from an Organization
You can remove any user from an Organization, Project or Initiative and revoke their access to that entity by opening the User Permissions box and clicking Revoke. When someone is removed from an Organization, all of the data uploaded by that user will remain in the Organization.
Create and manage camera details
Wildlife Insights requires each camera deployment to be associated with a camera. You can manage camera metadata in the Organization Details tab. Scroll to the bottom of the Details tab and click New Camera to create a new camera (image on left below). Enter all required fields marked with an asterisk (image on the right below). You can edit this information at any time by returning to this page and selecting Edit next to the camera name. See the Wildlife Insights Glossary to learn more about the fields in this form.


 Back to the guide